Follow These Tips For Cutting Vinyl Like A Professional
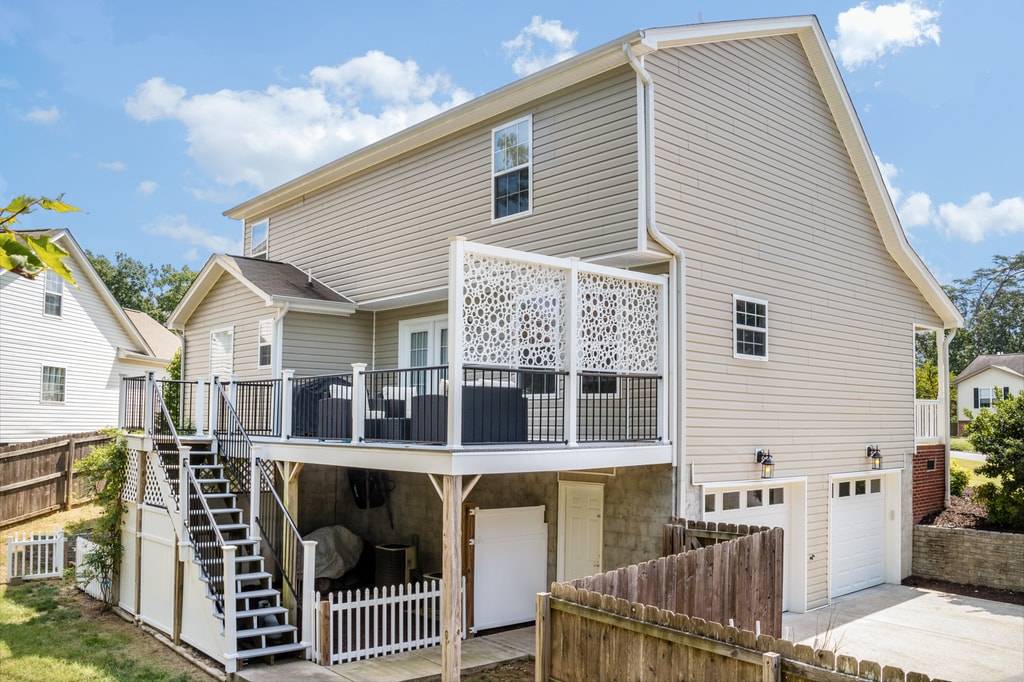
We cut our high-quality vinyl lattice to order, but if you’re a do-it-yourself’r then this guide’s for you. Vinyl lattice panels are a versatile and durable material often used for a variety of outdoor projects, including deck skirting, privacy screens, and trellises. Due to their creative design and lightweight nature, they offer both aesthetic appeal and affordable functionality. However, when it comes to customizing these panels to fit specific dimensions, cutting them can be a bit tricky. In this blog post, we’ll guide you through the process of cutting vinyl lattice panels to ensure a clean, professional finish for your project.
Understanding Vinyl Lattice Panels
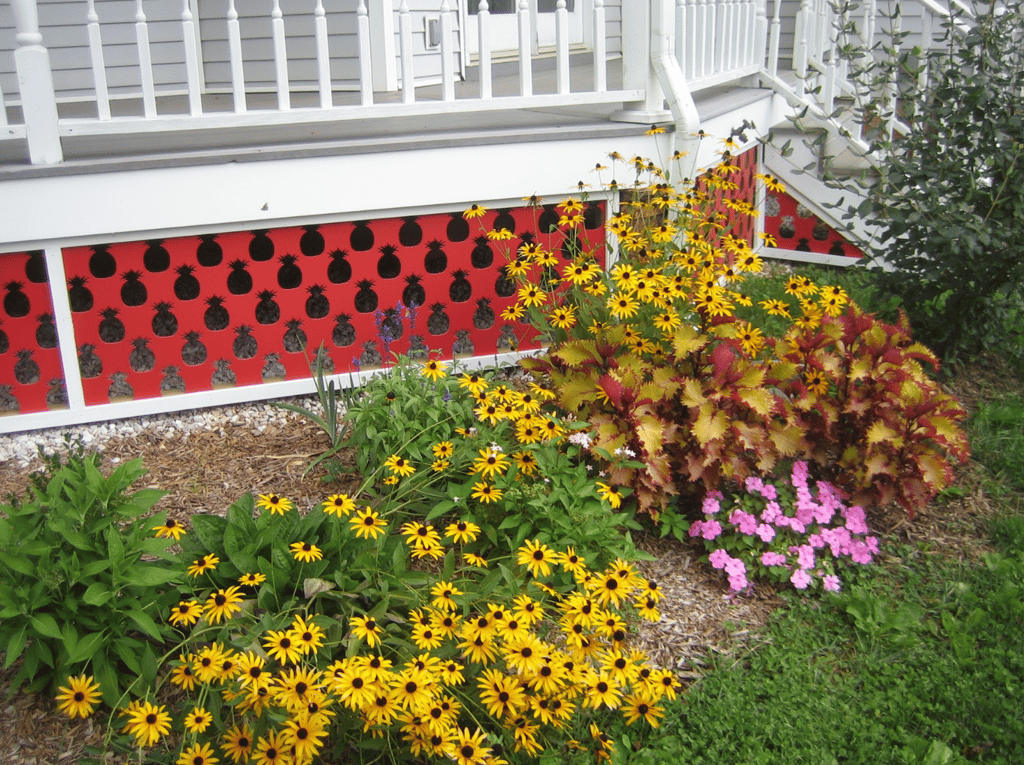
Before we dive into the cutting process, it’s important to understand what vinyl lattice panels are made of. Vinyl is a type of plastic that is known for its durability and resistance to moisture, making it an ideal choice for outdoor projects in your backyard or garden. Vinyl lattice panels come in a variety of colors and designs, but they all share a common feature: “cutouts” from a full panel create a pattern and provide structure while allowing for some see-through visibility.
Tools and Materials Needed
To cut vinyl lattice panels properly, you’ll need the following tools and materials:
- Vinyl lattice panel (get the best here!)
- Measuring tape
- Pencil or marker
- Straight edge or T-square
- Circular saw or handsaw with a fine-toothed blade
- Protective gear (safety glasses and gloves)
Step 1: Measure and Mark
Precise measurements are crucial for a successful cut. Use your measuring tape to determine the dimensions you need for your project. Once you have your measurements:
- Lay the lattice panel on a flat, stable surface.
- Use a pencil or marker to mark the cutting lines on the panel.
- Align a straight edge or T-square along the lines to ensure they are straight.
Step 2: Prepare for Cutting
Before you begin cutting, take the necessary safety precautions:
- Wear safety glasses to protect your eyes from flying debris.
- Put on gloves to safeguard your hands.
- Ensure your cutting surface is stable and won’t get damaged by the saw.
Step 3: Cutting the Panel
Now that you’re ready to cut, you have a couple of options depending on the tools you have available.
Using a Circular Saw:
- Fit your circular saw with a fine-toothed blade to ensure a smooth cut through the vinyl.
- Set the depth of the saw blade to just slightly thicker than the lattice panel to avoid cutting into your work surface.
- Follow the marked line with the saw, using a steady pace to avoid chipping the vinyl.
Using a Handsaw:
- If using a handsaw, ensure it has a fine-toothed blade for a clean cut.
- Saw slowly and carefully along the marked line, maintaining a steady hand to keep the cut straight.
Step 4: Sanding the Edges
After cutting the lattice panel, you may find some rough edges. To address this:
- Use fine-grit sandpaper to lightly sand the cut edges.
- Be gentle to avoid removing too much material or rounding off the edges too much.
Don’t worry too much about the edges. Your vinyl lattice will typically attach behind a wood frame, like decking. For installation tips, check out How To Install Vinyl Lattice.
Tips for a Perfect Cut
- Always cut through the lattice where the strips intersect, as this will help maintain the panel’s strength and structure.
- Support the panel on both sides of the cut to prevent it from bending or vibrating, which could result in an uneven cut.
- If you need to cut a curve, use a jigsaw with a fine-toothed blade and go slowly to maintain control.
Maintaining Your Vinyl Lattice Panels
After installation, vinyl lattice panels require minimal maintenance. However, they can get dirty over time. To clean them, simply use a hose to wash away any debris, and for tougher stains, a mild soap solution and a soft brush will do the trick.
Safety Goggles On, Measure Twice, and Cut!
There are a variety of key benefits to choosing vinyl lattice, including its ease of installation. Cutting vinyl lattice panels for installation doesn’t have to be daunting. With the right tools, measurements, and a little patience, you can achieve a professional-looking finish that will enhance the beauty and functionality of your outdoor space. Remember, safety first, measure twice, cut once, and you’ll be on your way to a successful project with perfectly cut vinyl lattice panels.